Christmas Was Coming. A Custom Buffet Island, Ready in 12 Days.
How we turned a rough reference image into a buffet island for a Swedish school, built, trial-assembled, and packed in 12 days.
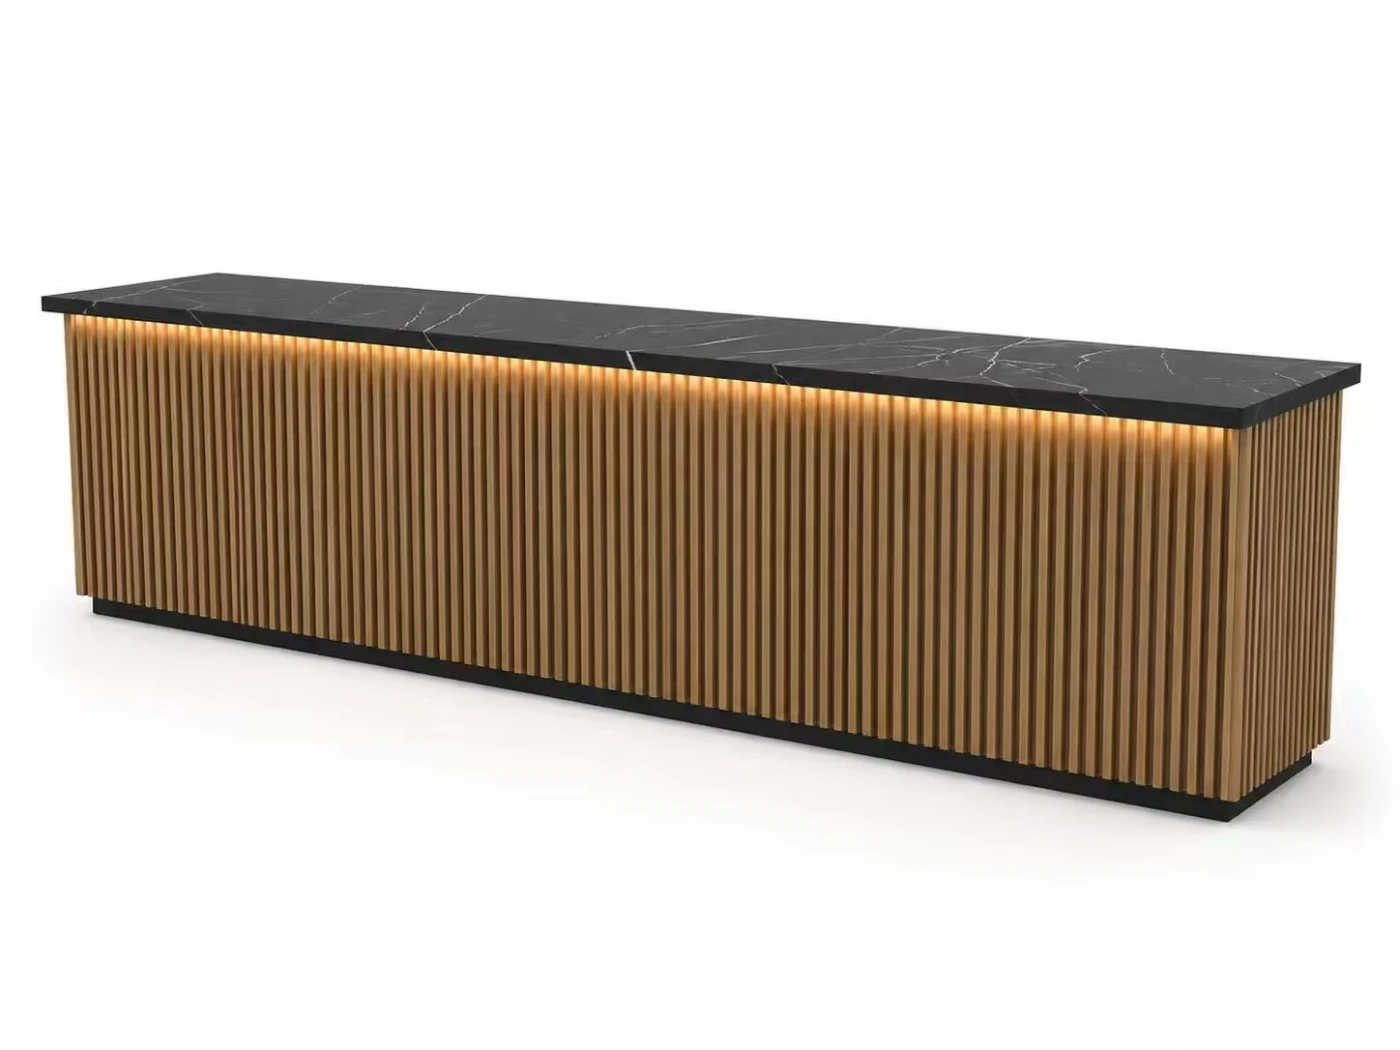
AI-assisted design visualization of the buffet island.
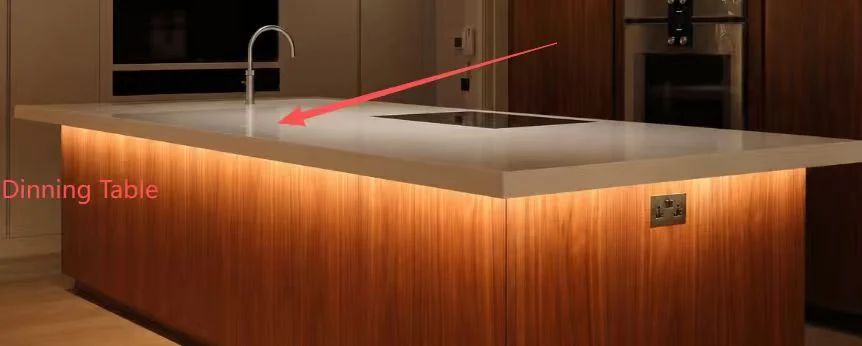
A school in Sweden needed a custom island for the self-service area of its cafeteria. The first picture gave us a starting point, with an arrow pointing to the kind of counter the customer had in mind. We still had to work out what their version would look like. By the time Christmas was approaching, the customer could give us just 16 days. Our normal lead time is around 30.
What does a rough reference leave open?
Quite a lot, as it turned out. The customer took time to consider the style, and a finish sample can only tell you so much on its own. We shared material and color choices and used an AI tool to turn the reference into a clearer visual. The customer could see the slatted face and dark top together, respond to the design as a whole, and confirm the style quickly.
The customer’s first reference image, with a note pointing to the island.AI-assisted design visualization showing the slatted front and dark countertop.
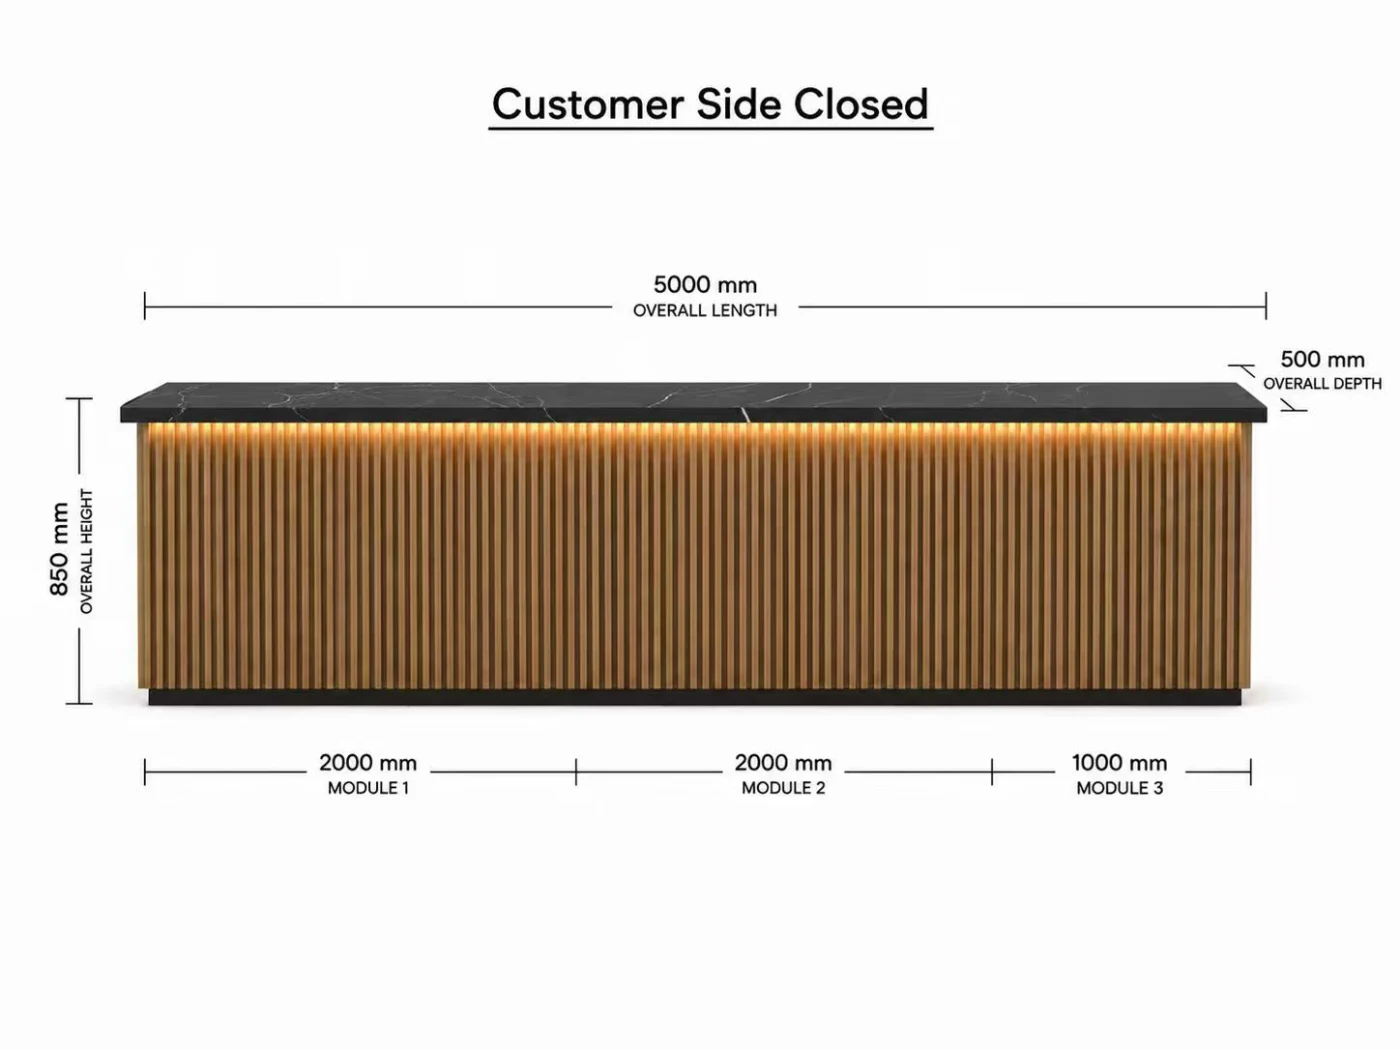
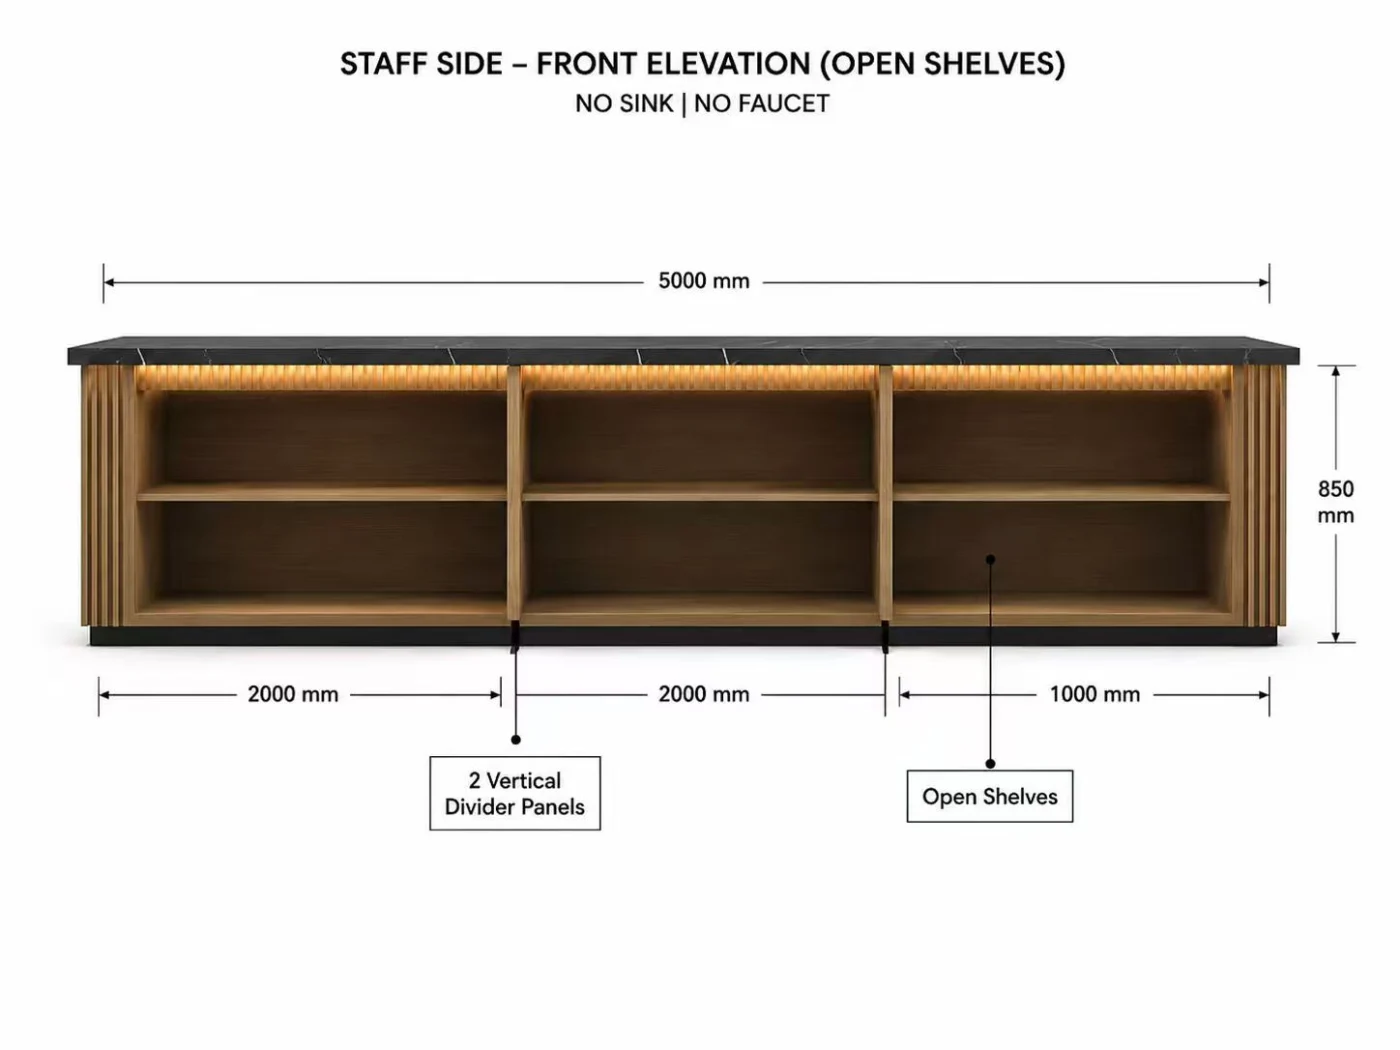
We used drawings to work through the layout. Look at the island from the dining area and you see the closed, slatted face. Turn it around and the design shows open shelving on the staff side. The material and lighting samples gave the customer something concrete to compare while those details were taking shape.
Design view of the closed customer-facing side.Design view of the open shelving on the staff side.
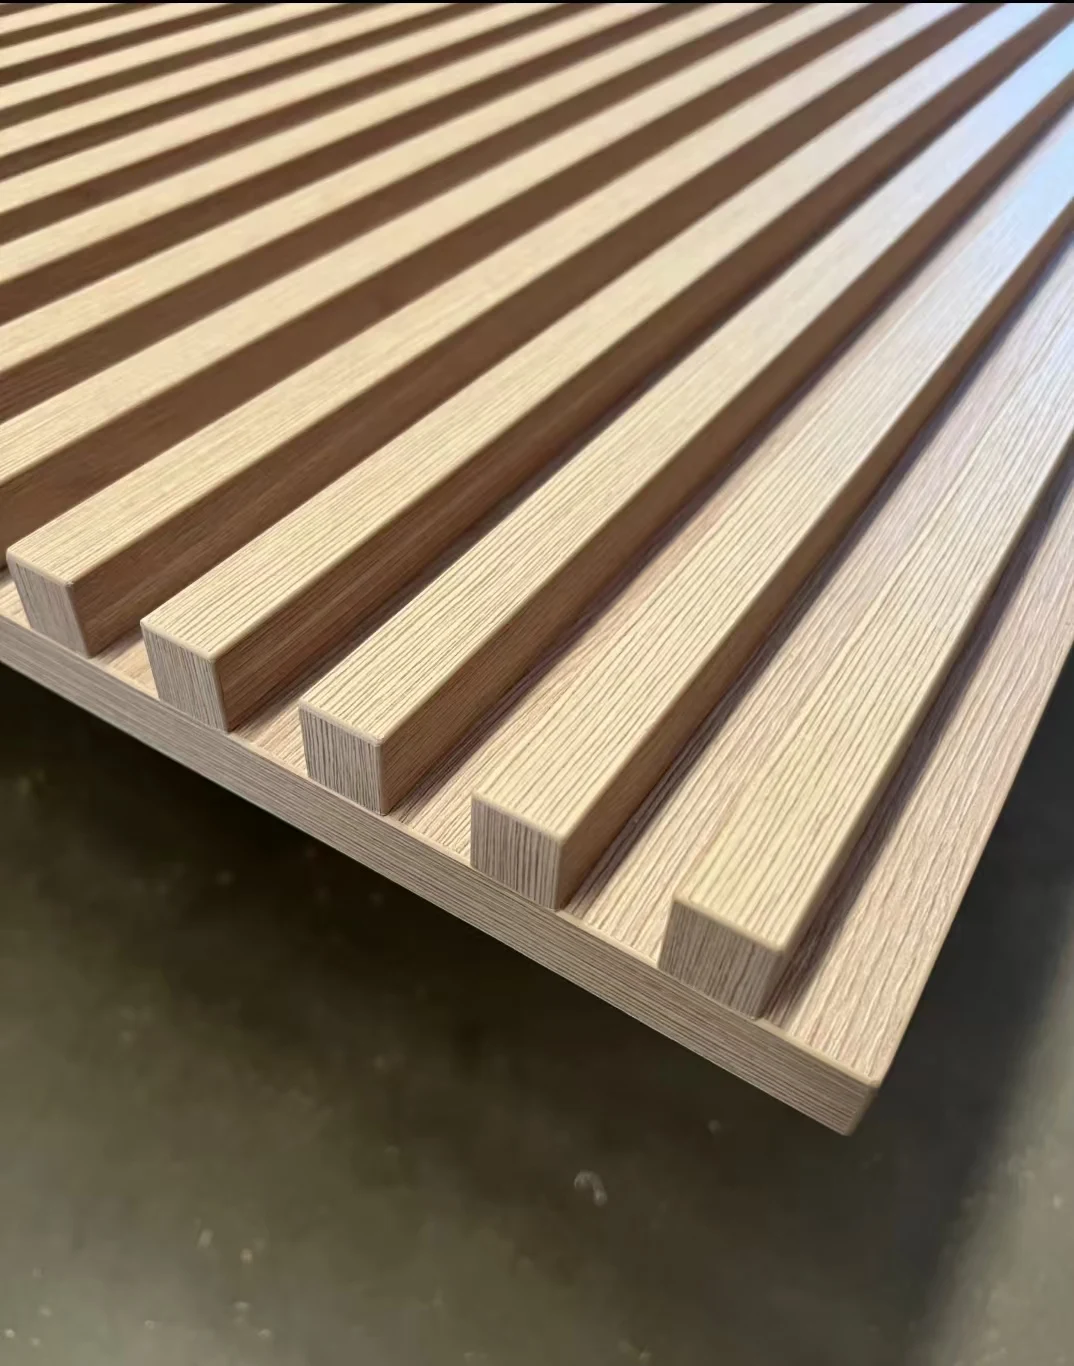
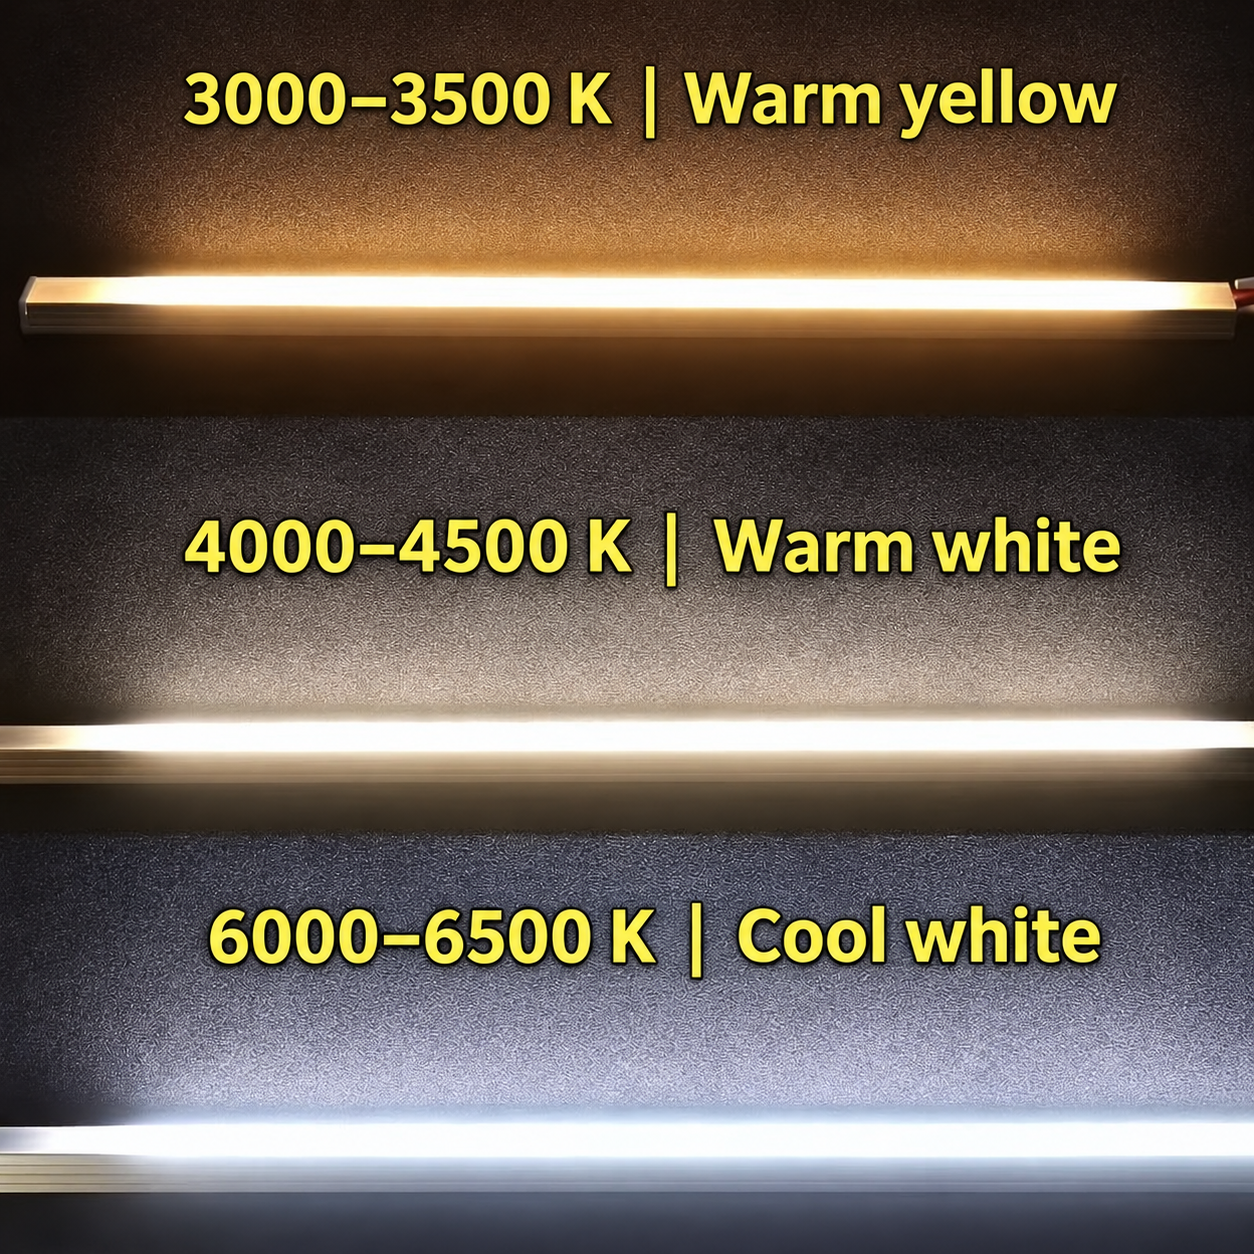
Slatted finish sample used during material selection.LED strip color options with English labels: warm yellow (3000-3500 K), warm white (4000-4500 K), and cool white (6000-6500 K).
For the cabinetry, we used plywood panels with PUR (polyurethane) edge banding. The plywood formed the cabinet structure, and the edge banding covered the exposed panel edges.
Comparing wood finish options
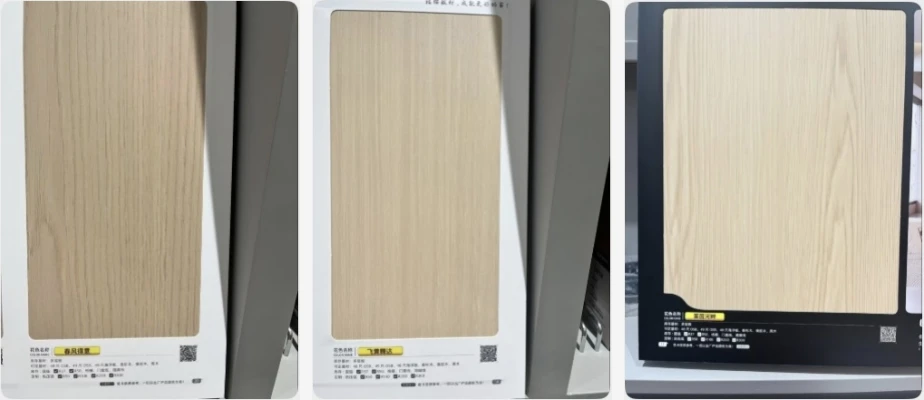
We shared three woodgrain finish samples so the customer could compare their tones and grain patterns side by side.
Three woodgrain finish options shared with the customer. Cropped from the original project chat.Browse the supplier’s plywood finish catalog by clicking the image or scanning the QR code. Send us the finish name or code you like so we can check availability for your project.
Which countertop did the customer choose?
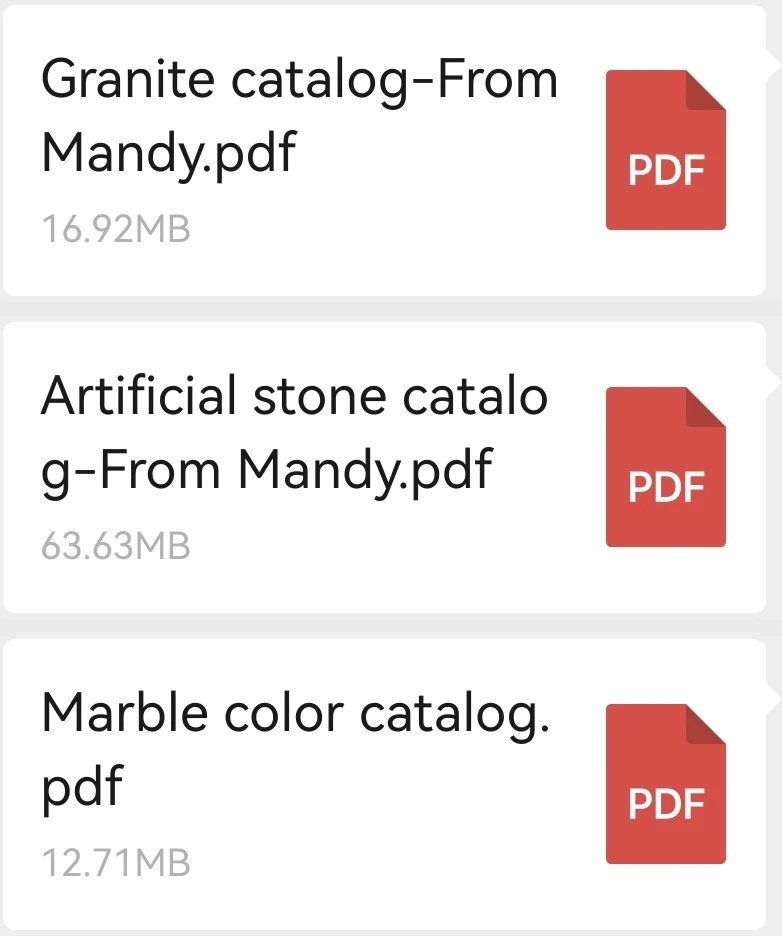
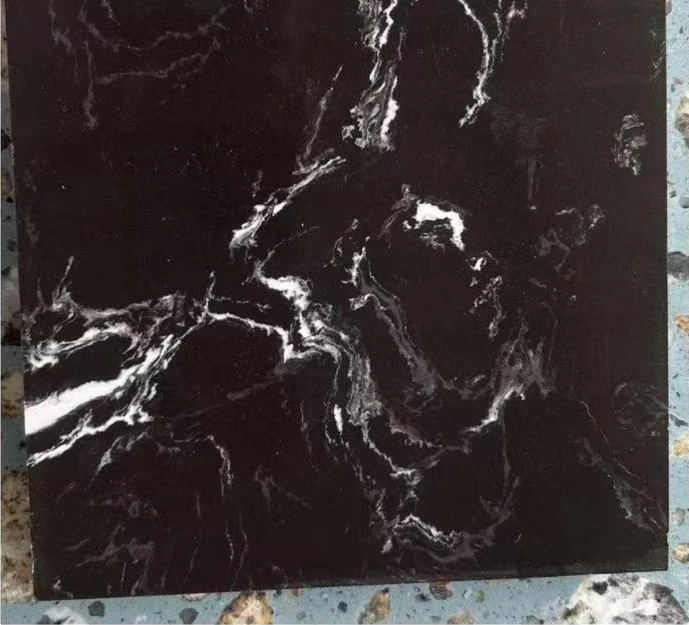
We sent the customer three catalogs so they could compare granite, artificial stone, and marble. They chose Black Rose from the artificial stone catalog. The sample shows a dark background with contrasting pale veins.
Granite Catalog, Artificial Stone Catalog, and Marble Color Catalog shared with the customer. Cropped excerpts from the original chat.Selected countertop finish: Black Rose. Swatch from the artificial stone catalog.
From a 16-day window to 12 days of work
Once the style was confirmed, we started production. The deadline covered more than making the cabinetry. We still had to trial-assemble it, document what the customer was getting, and pack it to their instructions. We finished production, trial assembly, and packing in 12 days, leaving four days in the window the customer had given us.
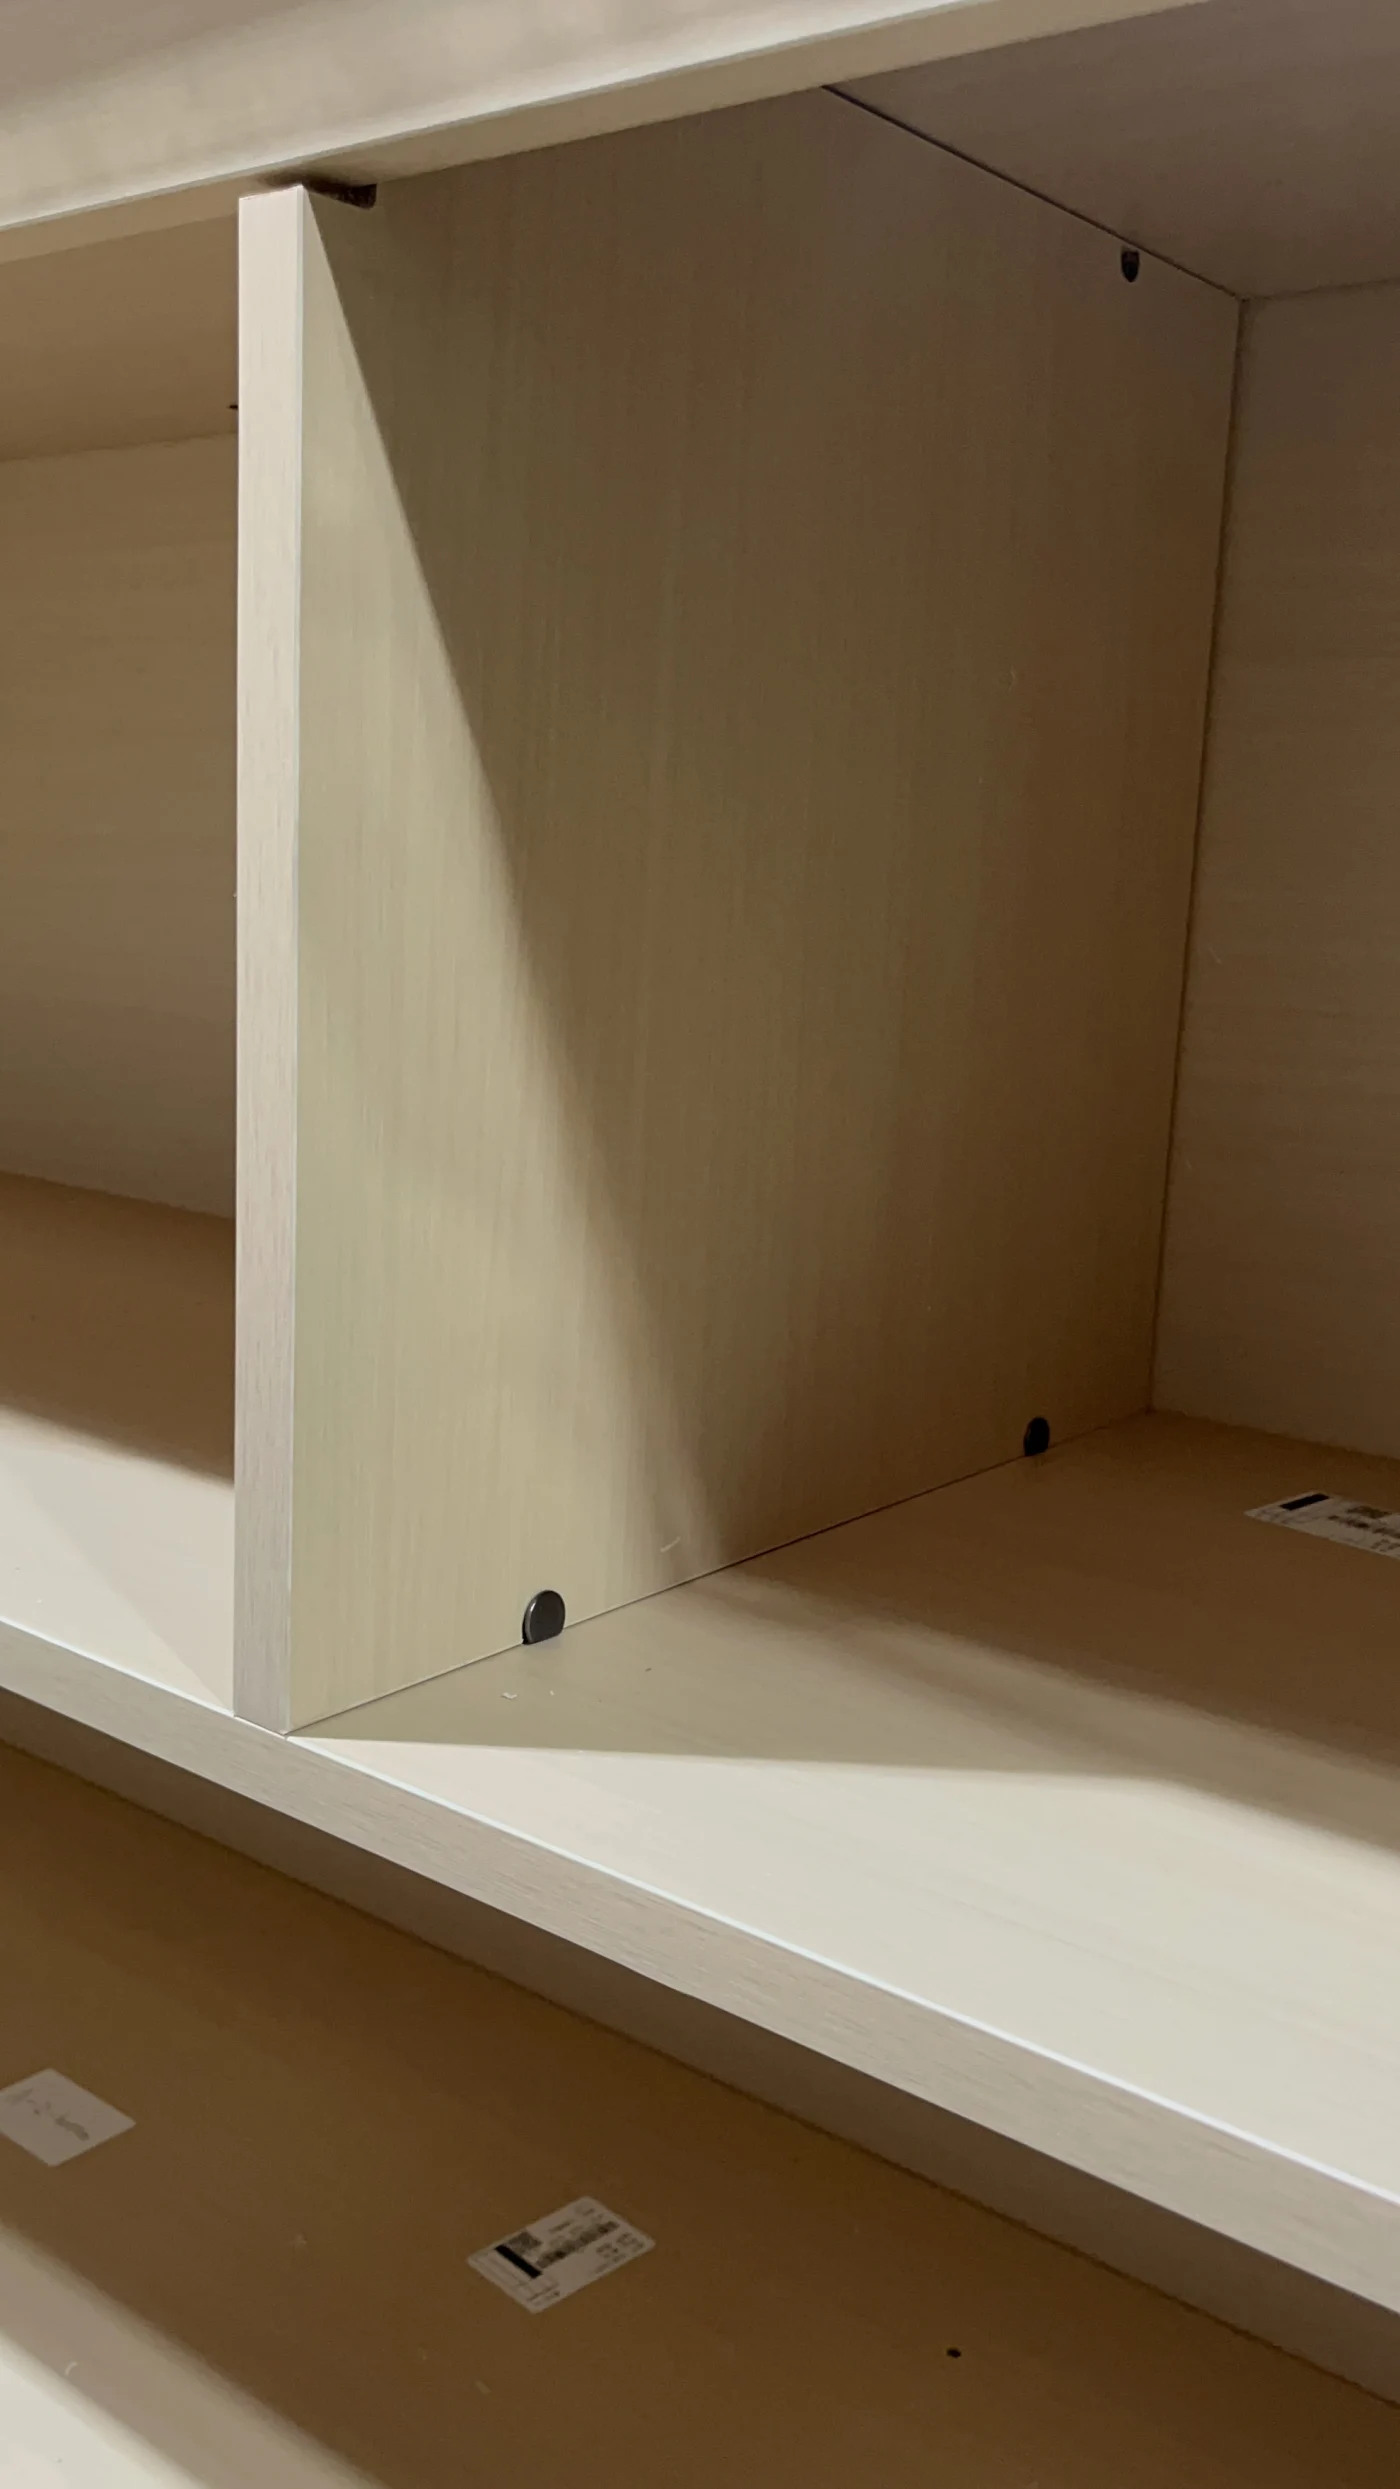
One workshop clip shows the kind of detail that is easy to miss in a rendering: where an added outlet would go inside the cabinet. Along with photos, video let the customer look at details from a distance. The customer reviewed the updates and was very happy with the result.
Workshop close-up of an interior cabinet panel and its fittings.Workshop video showing the proposed location for an added outlet.
Factory trial assembly. The workshop video shows the fitted countertop, open shelves, and slatted end panel before packing.
Why packaging helped us win the Swedish school order
What is PPWR?
PPWR stands for the Packaging and Packaging Waste Regulation (EU) 2025/40. It sets rules for packaging placed on the EU market, including imported packaging. Its goals include reducing packaging waste and making packaging easier to reuse or recycle. Read the European Commission overview.
The customer compared several factories. Jochan was the only one in that group able to meet the customer's PPWR-related packaging requirements for this order. We supplied the protective packing paper shown below and completed production, trial assembly, and packing by day 12.
Protective packing paper for the Swedish school order.
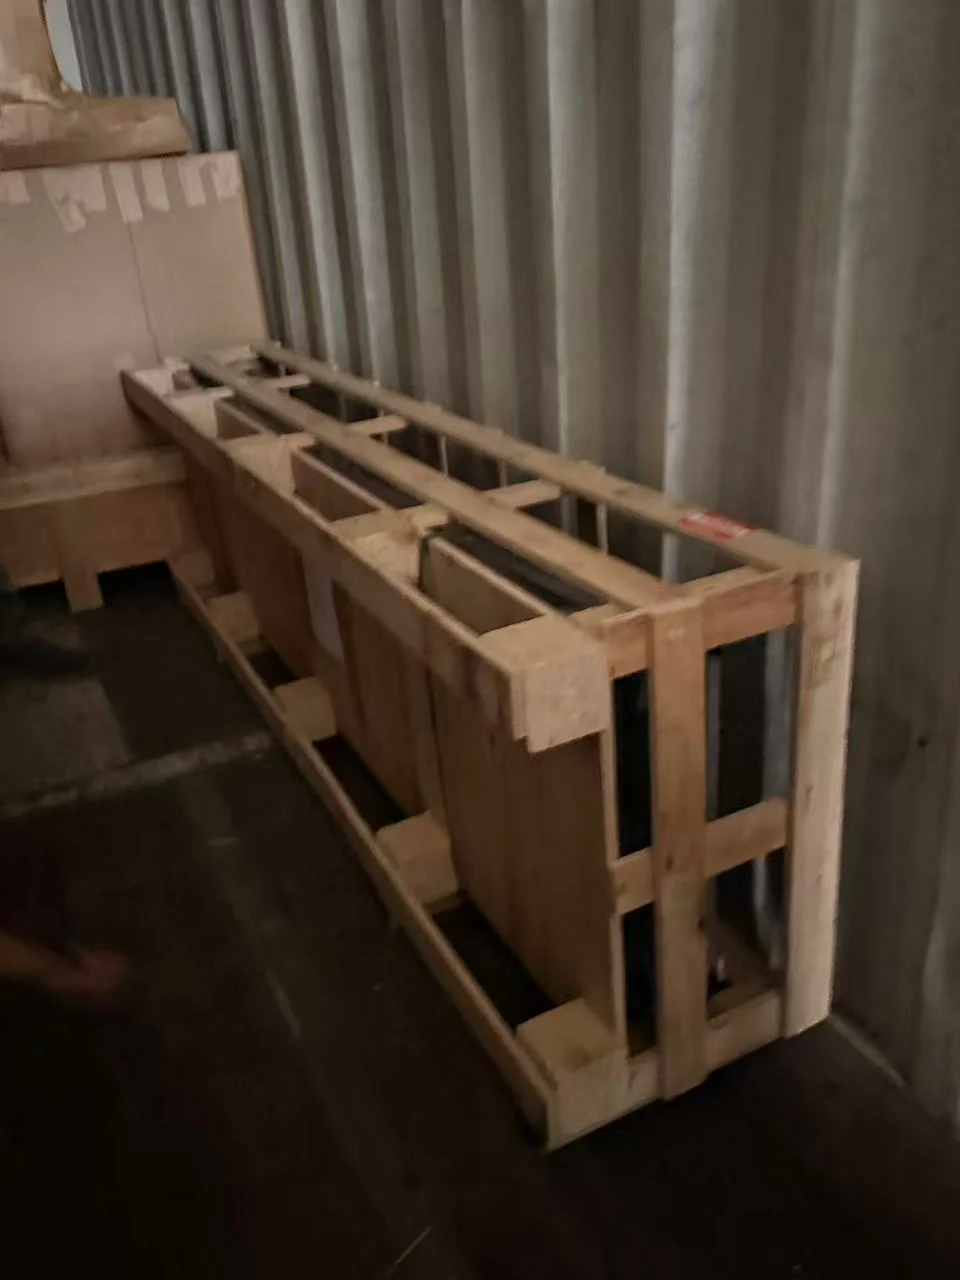
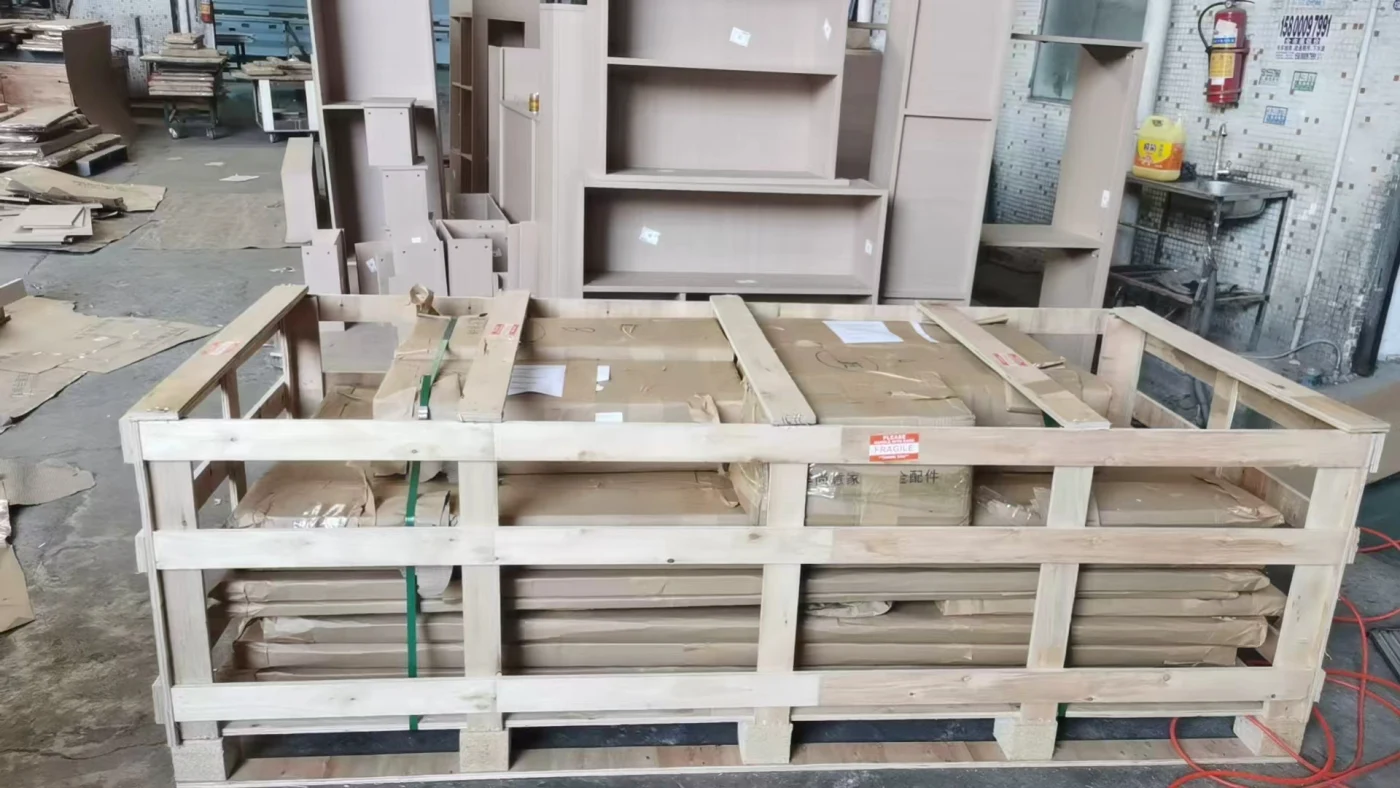
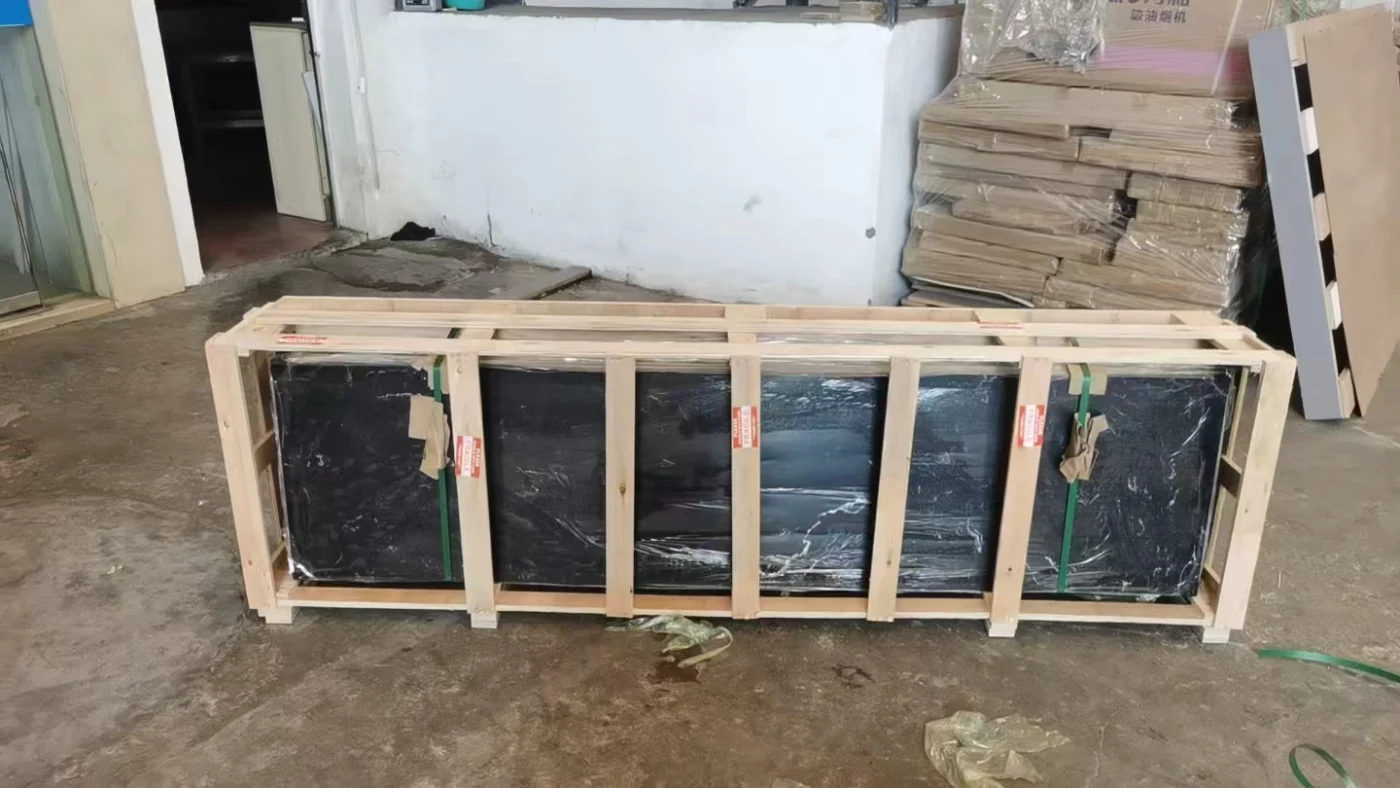
The workshop photos below show the timber shipping frames and the protective wrapping around the countertop. If your project is headed to the EU, share your destination and packaging specification when you request a quote so we can review the requirements for your shipment.
A long buffet island component inside an open timber frame.Cabinet components inside a timber shipping frame.The wrapped buffet island countertop secured in a timber shipping frame.
How to start a custom buffet island order
Show us the space. A rough reference, available dimensions, and a note about how people will use the counter are enough to begin.
Tell us what needs to fit. Include serving equipment, power outlets, and staff storage if they are part of the brief.
Confirm the appearance and layout. Review material and color options, then approve the design and drawings for your project.
Agree on what the deadline means. Tell us if you need the order packed, dispatched, or received by a particular date. Share any packaging instructions when you request a quote.